To enable SSO or once the steps below have been completed, reach out to SSI Support.
Step 1: Add New Application
Add New Application in Entra ID
- Log in to the Azure Portal.
- In the Azure Services section, choose Azure Active Directory.
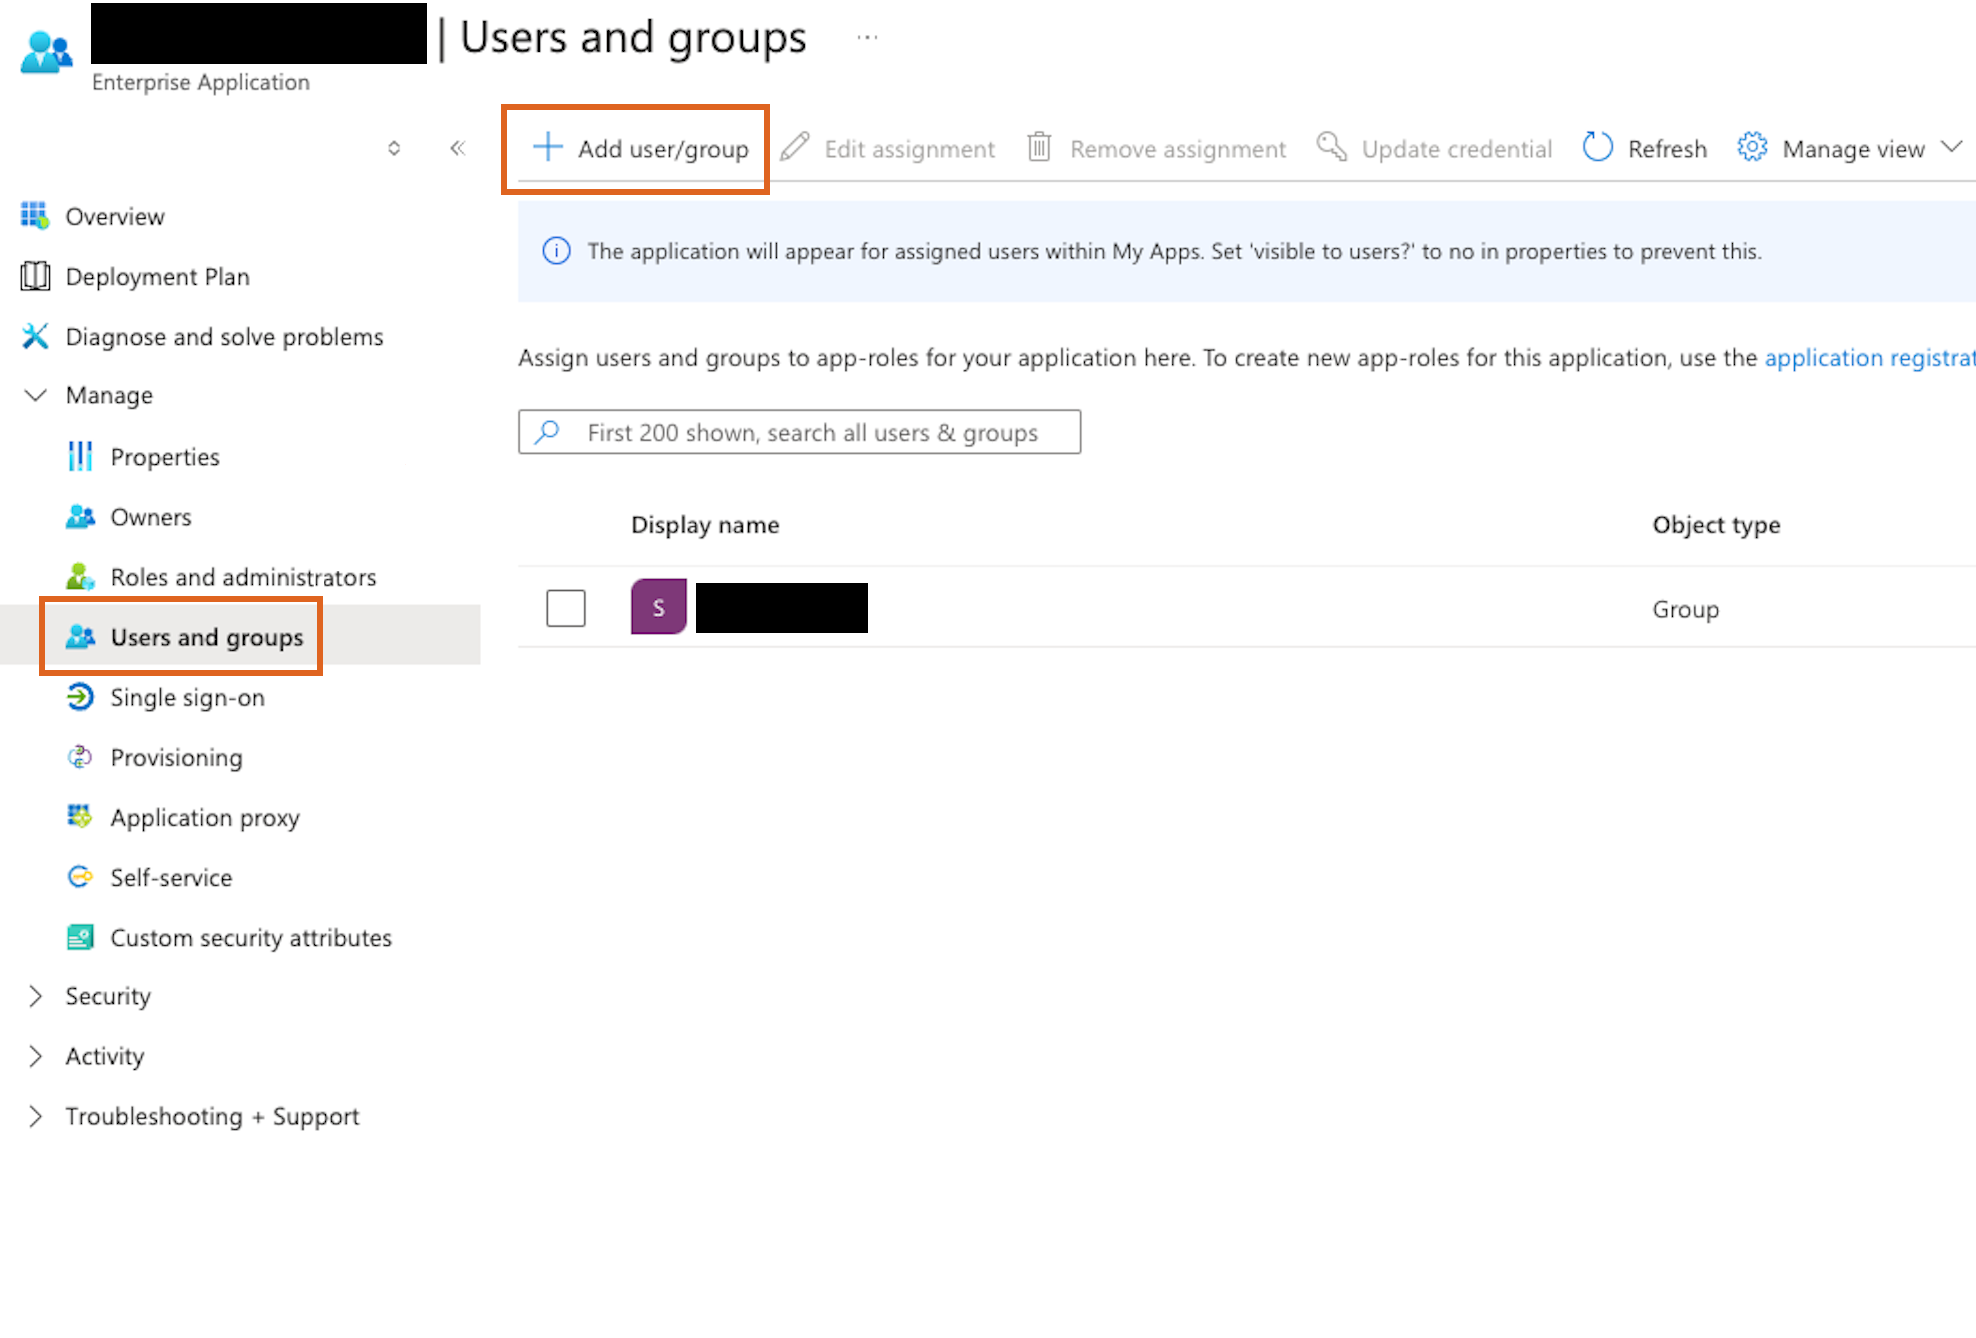
- In the left sidebar, choose Enterprise applications.
- Choose New application.
- On the Browse Entra ID Gallery page, choose Create your own application.
- Under What’s the name of your app?, enter a name for the application and select Integrate any other application you don’t find in the gallery (Non-gallery), as shown in the image below.

- Choose Create.

It will take few seconds for the application to be created in Entra ID. The Overview page should then display for the newly added application.
Note: Occasionally, this step can result in a Not Found error even though Entra ID has successfully created a new application. If that happens, in Entra ID, navigate back to Enterprise applications and search for the application by name.
Step 2: Set Up SSO
Set Up Single Sign-On Using SAML
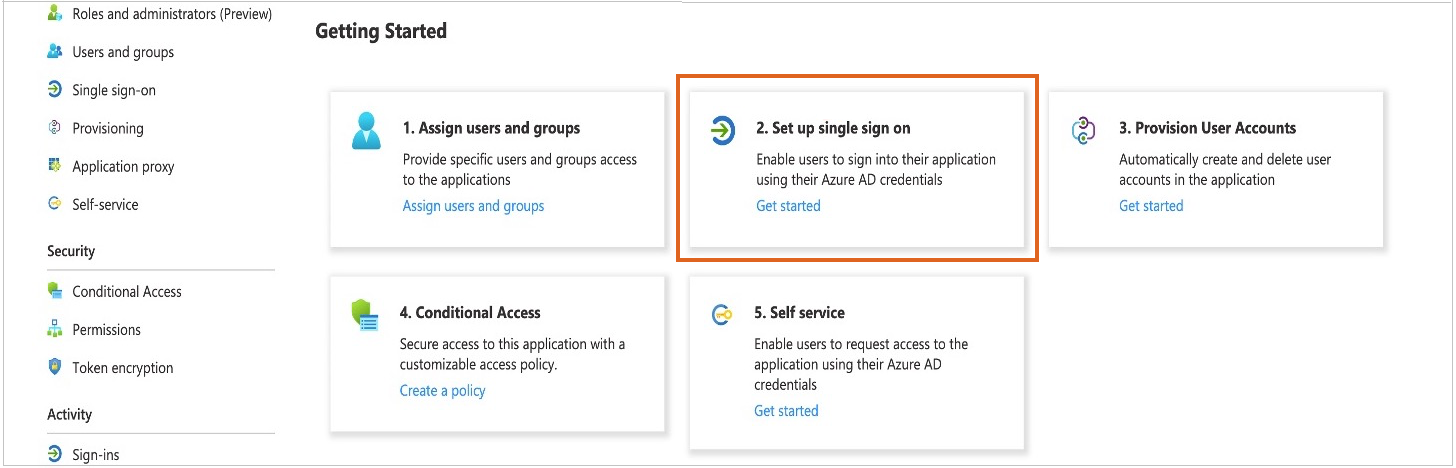
- On the Getting Started page, choose Get Started on the Set up single sign on card.
- On the next screen, select SAML.
- In the middle pane under Set up Single Sign-On with SAML, choose the Edit icon in the Basic SAML Configuration section.
- In the right pane under Basic SAML Configuration, enter the Identifier ID (Entity ID) and the Reply URL below.
- Entity ID:
urn:amazon:cognito:sp:us-east-1_FOTVuspmd - Reply URL:
https://skyusers-prod.auth.us-east-1.amazoncognito.com/saml2/idpresponse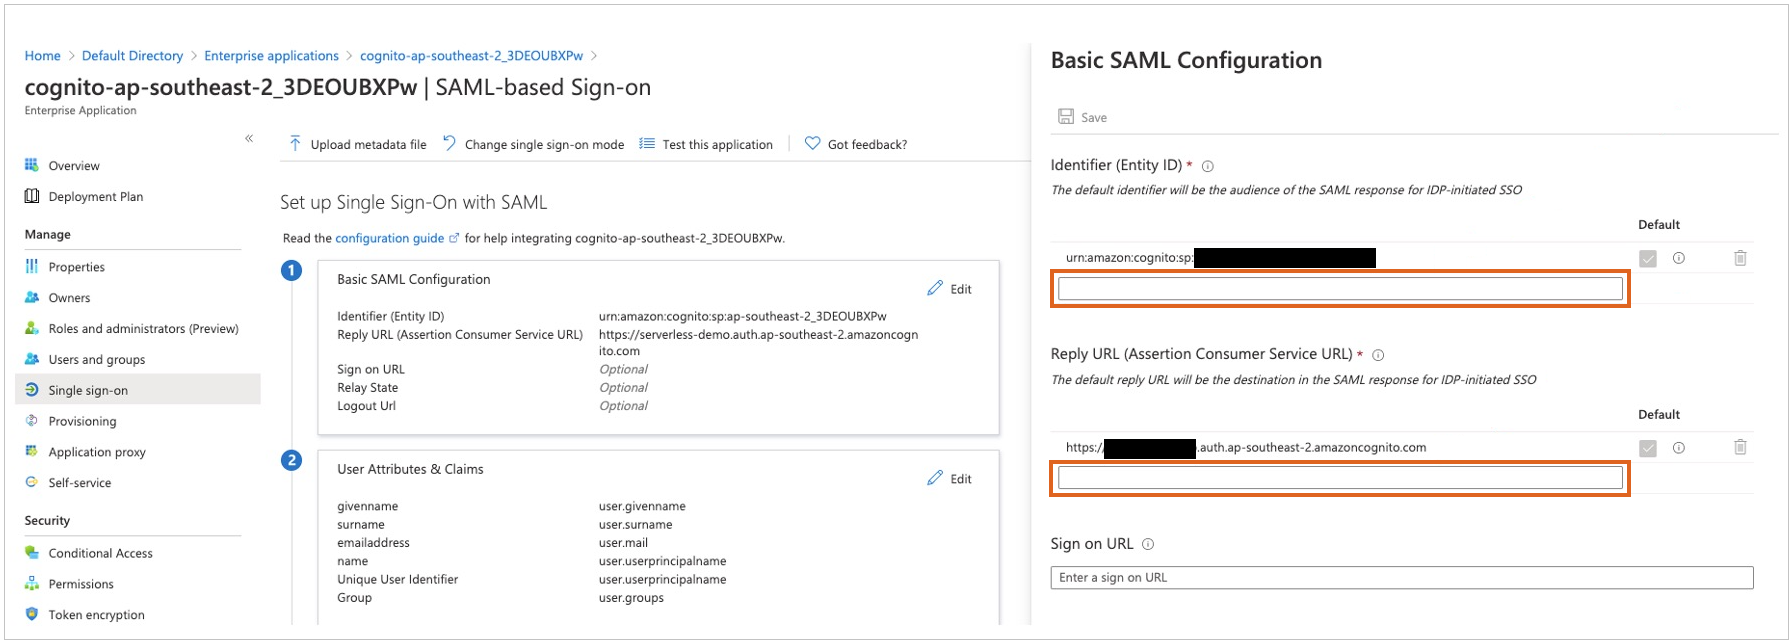
- Entity ID:
- Choose Save.
- In the middle pane under Set up Single Sign-On with SAML, choose Edit in the User Attributes & Claims section.
- Choose Add a group claim.
- On the User Attributes & Claims page, select Groups assigned to the application in the right pane under Group Claims. Leave Source attribute as Group ID.
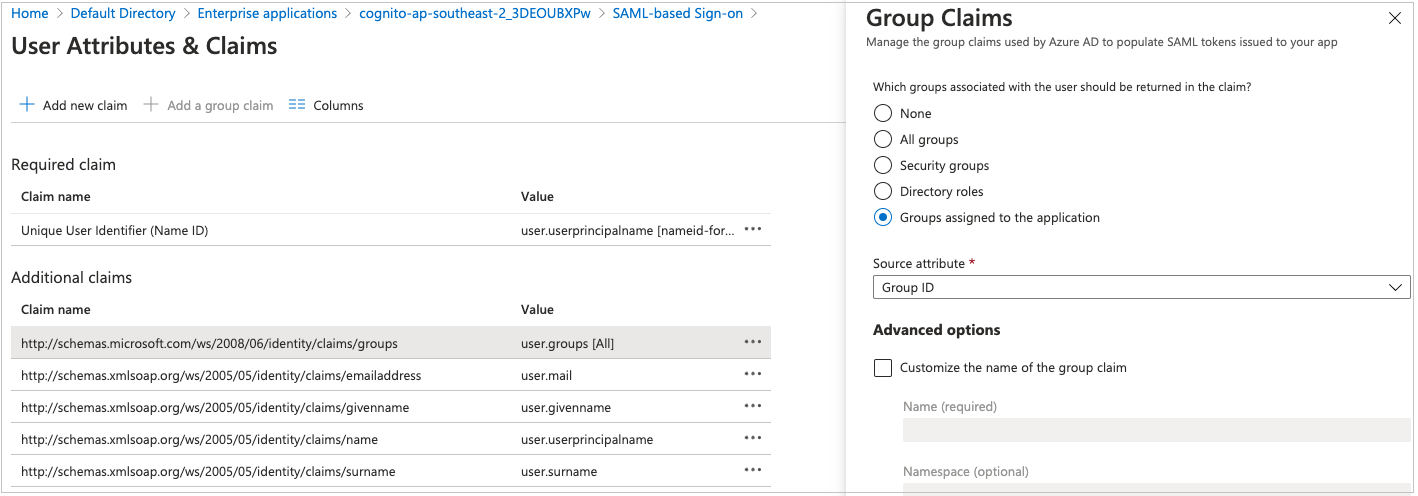
- Choose Save.


This adds the group claim so that Amazon Cognito can receive the group membership detail of the authenticated user as part of the SAML assertion.
- In a text editor, note the Claim names under Additional claims, as shown in Step 8 above. These will be needed when creating attribute mapping in Amazon Cognito.
- Close the User Attributes & Claims screen by choosing the X in the top right corner. The Set up Single Sign-on with SAML page will display.
- Scroll down to the SAML Signing Certificate section, and copy the App Federation Metadata Url by choosing the Copy to Clipboard icon. Keep this URL in a text editor, as it will need to be given to an SSI administrator to create the SSO configuration.
- Add users to the app in Azure (Entra) with the same email as the SKY User to use in their company.